





 +
+ +
+














Planting a cannabis seed is simple in principle: give it warmth, moisture, air and later light. In practice, most problems with young plants start in the first two weeks, when small mistakes like planting too deep or watering too much can stop a seedling before it really gets going. This guide walks you through each step from germination to the first true leaves, and gives a short outlook on what comes later.
Before you start: growing cannabis is only legal where your local law allows it. Rules differ a lot between countries and change over time. Germany, for example, allows adults to grow no more than three cannabis plants at the same time at their place of residence, while in many other countries growing is still a criminal offence. The EU Drugs Agency gives an overview in its FAQ on cannabis laws in Europe, and our article on THC rules in Europe country by country can help you get oriented. Always check the current rules where you live first.
Step 1: Choose and check your seeds
Healthy seeds are usually firm, dry and dark brown or grey, often with a mottled pattern. Pale, soft or cracked seeds tend to germinate poorly. Store seeds cool, dark and dry until you plant them, and handle them as little as possible.
It also helps to know what type of seed you have. Photoperiod plants start to flower when the nights get longer, while autoflowering plants switch to flowering based on age rather than day length. This matters for how you plan light later on.
Step 2: Germination
Germination is the moment the seed absorbs water, cracks open and pushes out its first root, called the taproot. Seeds need three things for this: moisture, warmth and air. Light is not needed yet. In lab germination tests on hemp seeds, researchers typically keep them on moist filter paper at around 20 °C in darkness and count sprouted seeds over about a week. The same study showed that water stress sharply reduced germination and slowed early root and shoot growth, which is a good reminder to keep seeds evenly moist.
Home growers usually use one of these methods:
- Paper towel method: Place the seeds between two damp (not dripping) paper towels on a plate, cover with a second plate, and keep it somewhere warm and dark. Check once or twice a day and keep the towels moist.
- Glass of water: Soak the seeds in room-temperature water for up to a day. Many seeds sink and crack in that time. Do not leave them in water for days, as they need oxygen.
- Directly in the medium: Plant the seed straight into its final pot or a small starter cube. This avoids moving a fragile sprout, but you cannot see what is happening.
Most fresh seeds show a taproot within a few days. Older seeds can take longer. If you are working with seeds that have been stored for years, our tips on ideal conditions for cannabis seeds and on the right humidity for seed germination are worth a read.
Step 3: Planting depth
Once the taproot is a few millimetres to about one centimetre long, it is time to plant. As a rule of thumb, place the seed about 0.5 to 1.5 cm deep, with the taproot pointing down. Make a small hole with a pencil, set the seed in gently, and loosely cover it. Do not press the soil down hard.
Planting too deep is one of the most common mistakes. The seedling uses up its stored energy before it reaches the surface. Planting too shallow can leave the root exposed and let it dry out.
Step 4: Choosing the growing medium
The medium holds water, air and nutrients for the roots. Young seedlings need a light, airy mix that drains well and is low in nutrients, because strong fertiliser can burn delicate roots.
- Soil: Forgiving and easy for beginners. A light seedling or potting mix, often loosened with perlite, works well. Read more in our guide to the best soil for cannabis plants.
- Coco coir: Holds water and air well but contains almost no nutrients, so plants need feeding earlier.
- Starter cubes or plugs: Handy for germination and easy to move into a bigger pot once roots appear at the bottom.
Whatever you choose, use pots with drainage holes. Standing water around the roots is a fast way to lose a seedling.
Step 5: Light for seedlings
As soon as the seedling breaks through the surface, it needs light. Outdoors, that means a bright spot once the risk of frost has passed. Indoors, growers use grow lights at a gentle intensity, since young plants cannot handle the full strength used later in the plant's life.
Photoperiod cannabis is generally treated as a short-day plant. Indoor growers usually keep plants in vegetative growth with long days of 16 hours of light or more, then switch to around 12 hours to trigger flowering. The same research notes that autoflowering types flower based on age rather than day length. For seedlings of both types, long days of around 16 to 18 hours of light are common.
If a seedling grows very tall and thin with a weak stem, it is usually stretching towards a light that is too far away or too weak.
Step 6: Watering
Seedlings have tiny root systems, so they need little water but they need it regularly. Overwatering is a much more common problem than underwatering at this stage.
- Water gently around the stem with a spray bottle or a small cup, just enough to keep the top layer moist.
- Let the surface dry slightly between waterings so roots get oxygen and are encouraged to grow.
- Lift the pot: a light pot usually means it is time to water, a heavy one means wait.
- Use room-temperature water. Very cold water can stress young roots.
Drooping, dark green leaves on wet soil often point to overwatering. Limp, pale leaves on dry soil point to underwatering.
Step 7: Early care in the first weeks
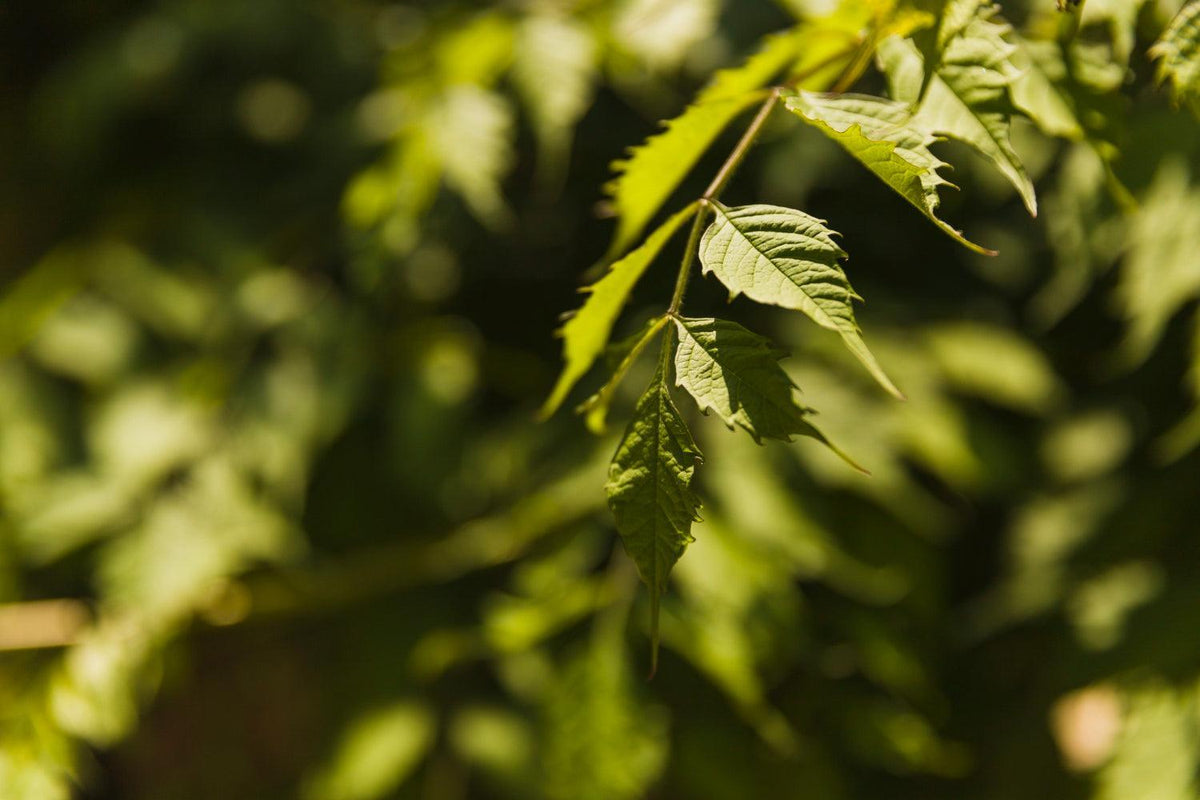
The first pair of round leaves are the seed leaves (cotyledons). They feed the plant at first. The first "true" leaves with the familiar serrated shape follow soon after. From here on, a few habits make a big difference:
- Stable climate: Keep temperatures mild and avoid big swings between day and night. Fairly humid air helps young plants, as their roots cannot take up much water yet.
- Gentle air movement: A light breeze strengthens stems and helps prevent mould, but do not point a strong fan directly at a seedling.
- Little or no fertiliser: Most seedling mixes contain enough nutrients for the first one to two weeks.
- Transplant on time: When roots start to circle the pot or come out of the drainage holes, move the plant into a bigger container, handling the root ball as little as possible.
For a closer look at this stage, see our guide to the one-week-old hemp seedling.
Harvesting cannabis: when and how for best results
Planting is only the start. Once your plant has grown through the vegetative and flowering stages, harvest timing, drying and curing decide much of the final quality. Here is a short outlook on what comes later.
Identifying mature cannabis for harvest
Harvest timing is usually judged by the trichomes, the small resin glands on the flowers, and by the pistils, the fine hairs on the buds.
- Trichome colour: Clear trichomes generally mean the plant is not ready yet. Many growers harvest when most trichomes look cloudy, with some turning amber.
- Pistil changes: Pistils change from white to orange or brown as the flowers mature. Most growers wait until a large share of them have darkened.
- Overall plant appearance: Towards the end of flowering, older leaves often yellow and drop. This is a normal part of the life cycle.
Drying and curing processes for cannabis quality enhancement
- Drying: Hang the harvested branches in a cool, dark, well-ventilated room with moderate humidity. Drying slowly over roughly one to two weeks helps preserve aroma, while drying too fast can make the result harsh and drying too slowly can cause mould.
- Curing: When small stems snap instead of bending, place the buds in airtight glass jars and store them cool and dark. Open the jars briefly every day at first to release moisture. Many growers cure for at least a few weeks. You can read more about this in our article on curing cannabis buds for better flavour.
Done carefully, drying and curing help keep the aroma and make the final product smoother. But it all starts with a well-planted seed and a healthy seedling.
Sources
- § 9 KCanG: Anforderungen an den privaten Eigenanbau, German Federal Ministry of Justice (gesetze-im-internet.de)
- Frequently asked questions (FAQ): Cannabis laws in Europe, European Union Drugs Agency (EUDA)
- Effects of Gibberellin Pre-Treatment on Seed Germination and Seedling Physiology Characteristics in Industrial Hemp under Drought Stress Condition, Life (via PubMed Central, NIH)
- Is Twelve Hours Really the Optimum Photoperiod for Promoting Flowering in Indoor-Grown Cultivars of Cannabis sativa?, Plants (via PubMed Central, NIH)